

Foreword: No Man’s Wharf is easy (by Dark Souls 2 standards so far.) Don’t get too self-confident. You WILL lose souls.
And now on to today’s real topic: hardware.
I got myself two shiny new toys, a Unicomp Model M rebuild and a Synology NAS.I like both of them so far. More after the break.
The Keyboard
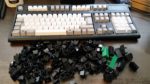
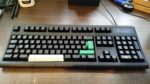
Unicomp produces mechanical keyboards based on the classic IBM Model M. Those things are heavy, clunky, clicky and LOUD keyboards that provide a good amount of resistance against any use and misuse. I love this thing.
What I love even more is the fact that Unicomp also sells custom keycaps in various colours, both printed and unprinted. As you might have noticed, I ordered a set of blank key caps to force myself to finally learn blind typing. It works surprisingly well, albeit I currently find it easier to just delete a whole word and re-type it then to search for the correct key to correct a typo…
If you want a keyboard with a set of custom caps, order directly from Unicomp. If you just want a keyboard, try getDigital – retails price + shipping from the US roughly equals their price, and there wont be any hassles with customs.
The NAS
The other new toy is a Synology DS1515+ NAS. His name is GLADos, following established naming procedures for IT equipment.
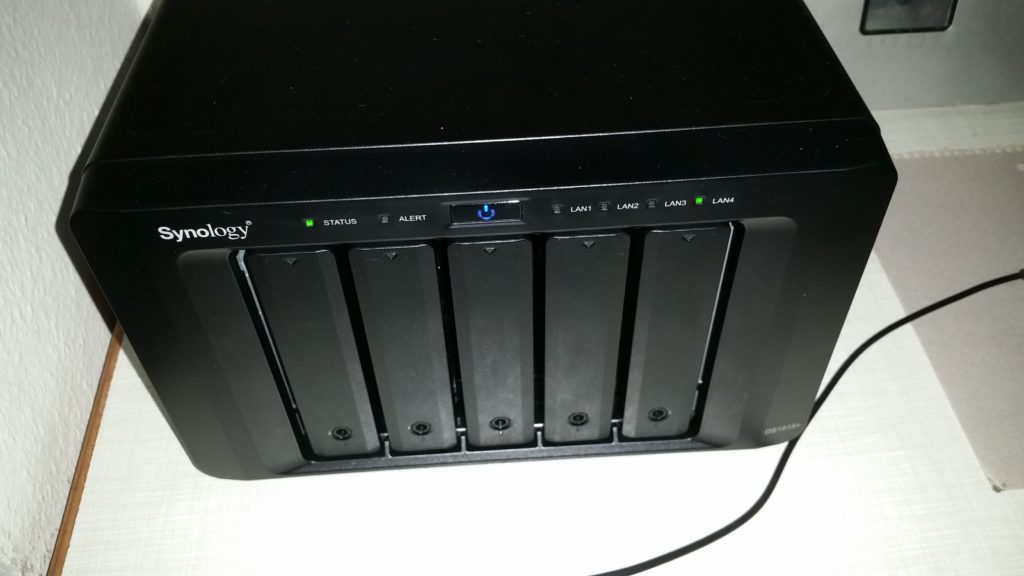
I got myself a five-bay NAS because there is no kill like overkill, and I really wanted a RAID-10 and an additional back-up disc as well as the various additional playthings this model can run. For common home purposes, a RAID-1 with two big discs should be sufficient.
“What the fuck did you just say?”
Okay. A NAS is a Network Attached Storage – an external hard drive connected to the network instead of your PC. A RAID is a Redundant Array of Independent Disks – several HDDs working as one volume. RAID-1 uses two discs and mirrors them unto each other – both hold the same data, if one fails you still have the other. RAID-10 is “two RAID-0 in a RAID-1”, wherein a RAID-0 spreads your data in blocks over two discs, resulting in faster access but no redundancy.
The fifth bay holds an additional backup-disc where important data will be backed up to. I once lost 1.5TB of media, I am that paranoid.
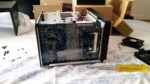
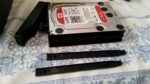
But let’s start at the beginning: after ordering the NAS itself (Conrad had the best offer among big suppliers, much cheaper than the cheapest on amazon), five WD Red 4TB HDDs, two Noctua NF-A8 FLX fans (especially recommended as quieter than the ones provided by Synology) and a 4GB RAM block (all via amazon, and no, I do not get any money for this, even if I totally should), I ended up with… some several boxes.
Unboxing and assembly

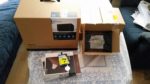

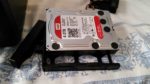
All parts were very well packed and shipped without damage – especially the discs had several problems mentioned in the amazon reviews, but as you can see in the central picture I had no problems with insufficient transport safety.
After producing a metric buttload of paper waste, all the shinies lay in front of me. The first things to do are to take out the fans and to find where to put the RAM.

Protip: unscrew the screws on the flaps first. It wont break anything if you don’t, but life gets easier if you do. The connectors are on the bottom side of the device and come off easily.
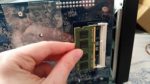
To upgrade the RAM, unscrew the other five screws at the back of the case, lift the top and look on the left side. Mounting the block was a bit of a panic-moment – have someone help you with the mounting pins. Or just don’t have panic moments when adding torque to electronics, whatever works best for you.
The fans can be uncoupled from the cage-plates by removing the remaining four screws. Now grab the replacement fans and get puzzling.

Finding the best way to stuff the cables in the back of the NAS is indeed a bit of puzzle work. For some reason I didn’t take a picture of my final solution. You’re on your own. Sorry. [Totally not sorry.]
What’s left is the most important part: the disks. It’s also the easiest.
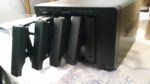
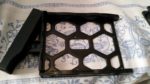
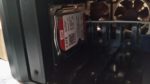
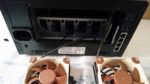
The HDDs are frame-mounted and inserted into the case. 3.5”-discs fit without and kind of adapter and without and screws: just place the disc into the rubber-framed frame (vibration dampening is a good thing), insert the sidebars (on the fourth picture you can see the pins that go in the holes in the HDD), slide the frame into its slot and you’re done.
As this model is also advertised for business use, the frames are directly accessible (smaller models have an additional front plate) and lockable. And yes, I decided to lock them. I know the people coming over here, and the very last thing I need is someone looking at the disk station going “and if I press here I can remove a disc, right?”. Yes, people do this.
Plug it in, press the button and listen to the sound of a new member of the family waking up for the first time.
The Setup
For the most part setting up the disc station is so easy it borders on the insulting. On the other hand, I somewhat know what I am doing, so your mileage may vary. [Did I just smugly insult all my readers? Sorry.]
You go to find.synology.com, wait a bit and BÄM: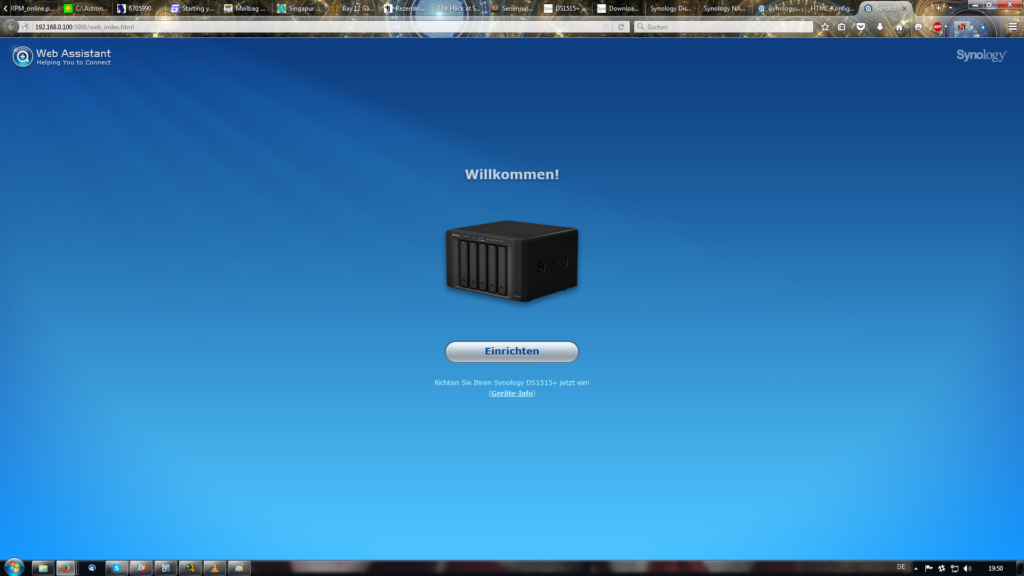 The next things are the usual stuff: update the OS, set up an admin account, and before you know you’ve got the system up and running.
The next step then is to set up your storage volumes. Which again is quite easy and can be done with an integrated tool: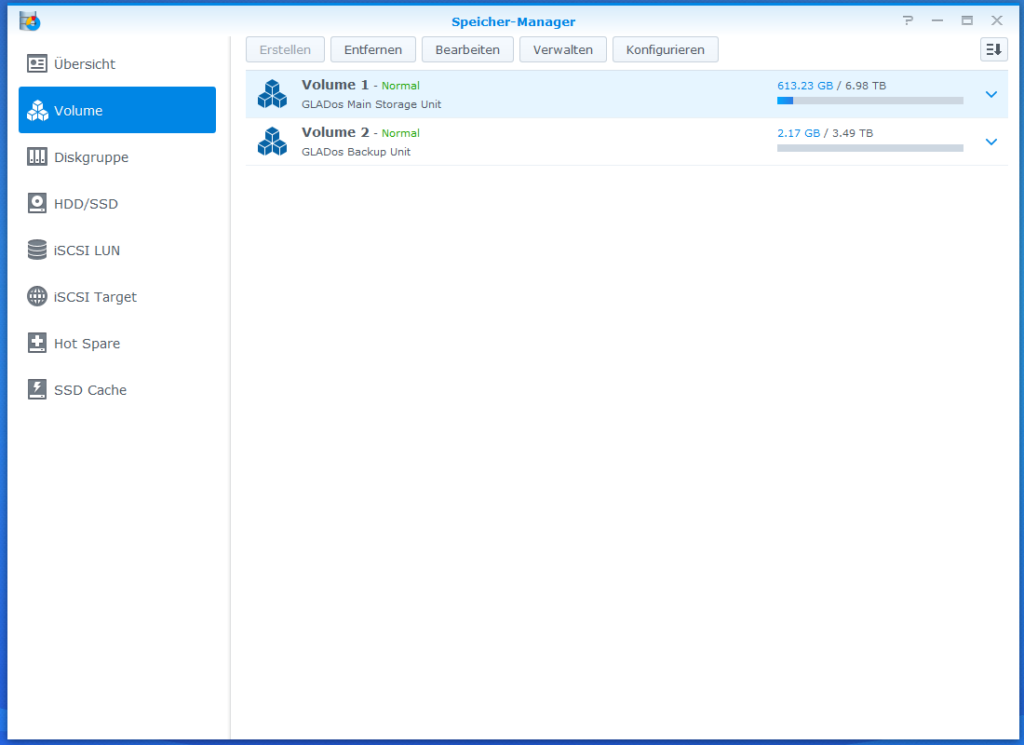 You click on the discs, you specify what you want (RAID-X or whatever type of volume you need) and press okay, the station does the rest.
Folders can be created using the File Station, where you can also specify whether or not the folder is visible on the network and who can access the folder.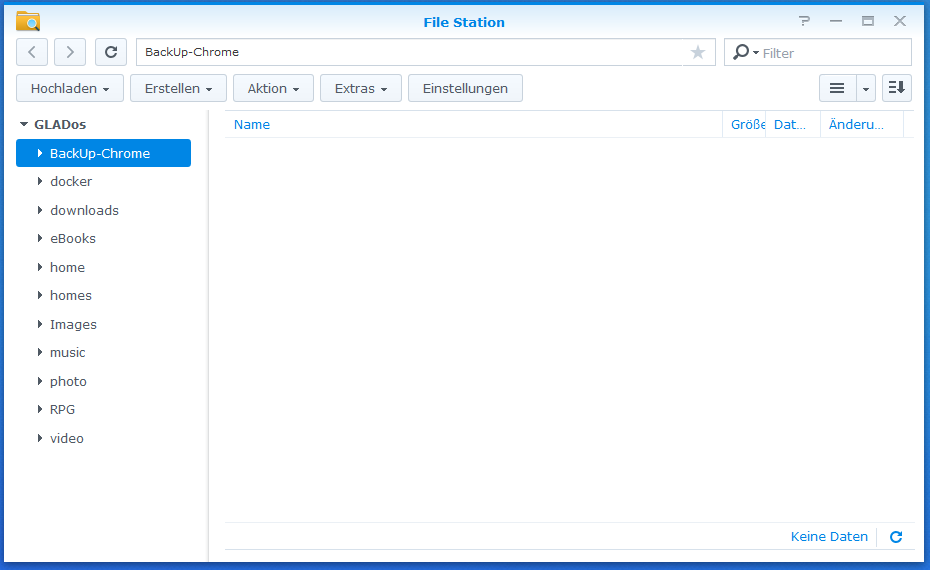 User and group management again is easy using the corresponding menu.
The station is shown on the network under its given name, accessible folders can be mounted using the right mouse button menu. So far everything works fine. Copying stuff onto the station is basic drag&drop, but I will take some more looks into automatic backup/synchronisation tools and update you on it. There is one backup tool provided by Synology which works reasonably well under normal circumstances, but regarding my sometimes a bit fucked up data structures it probably wont work too well for everything. If any one of you knows a good tool to simply synchronise folder content over several locations, let me know.
Tools
The station comes with a buttload of tools to make life even easier.
One of the first things I got myself was the note station. It’s basically a self-hosted Evernote server – you get a phone client, you can import all your stuff from Evernote and suddenly all your notes no longer hang around on other people’s servers. As I only ever used Evernote as a tool where notes go to die, Note Station perfectly fulfills this duty.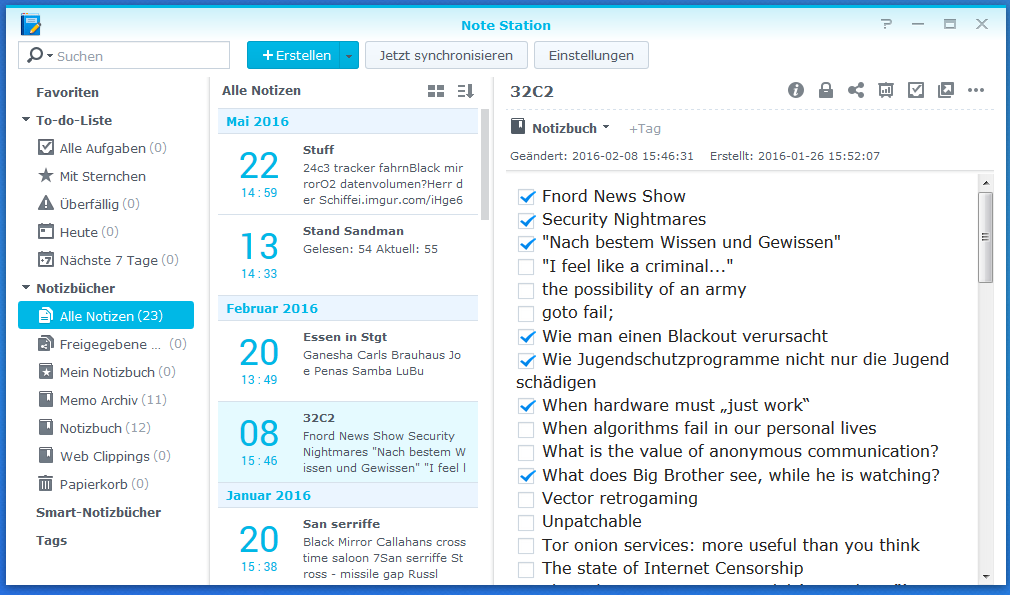 Spreadsheet is, well, a spreadsheet. Hosted in your living room instead of a google datacenter.Then there is the Download Station, which you can feed with basically any link pointing to a file (html-download, ftp, BT, …) and the station automatically drags the target file(s) kicking and screaming off the net and onto itself. I tested it with an Ubuntu ISO-torrent, and yeah. Shit works. Good for larger downloads or those of slow sources – the station is running anyway, so it may as well do the work instead of your full grown PC.
Things get interesting when it comes to Audio and Video Station. These two tools provide streaming access to audio and video files – for example, you can stream your music collection to your phone or via your phone to a set of BT-speakers.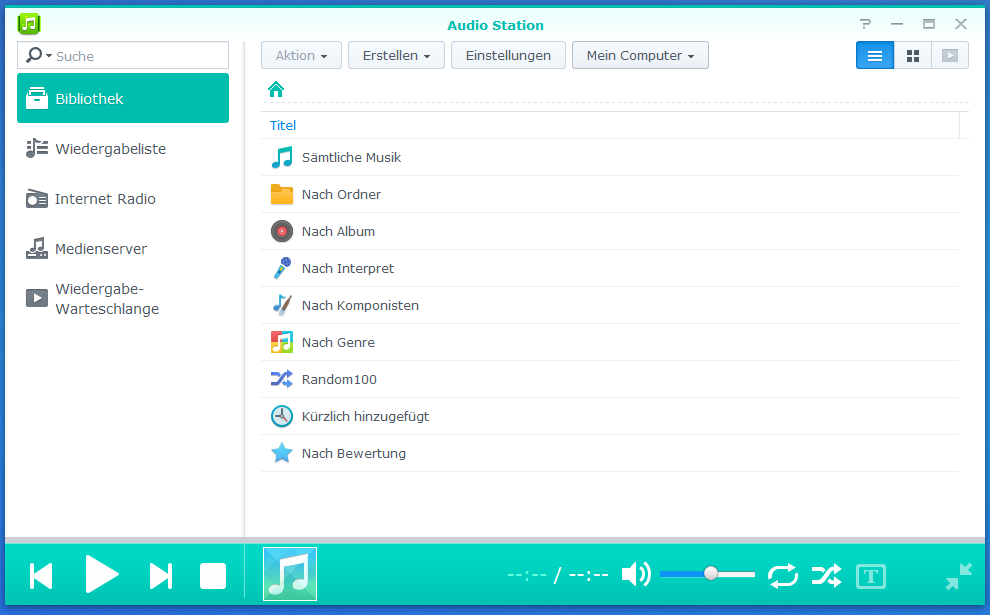 Or, provided you have a BT-dongle with paired speakers or an USB soundcard with attached speakers on your station, you can also play music directly from the station. As we lack a dedicated audio system in the living room, this MIGHT put an end to “one of us plays music on his PC and turns up the volume”. This is another point I will update you on at some point.
The Video Station theoretically provides the same for video files on the device. While detection and correct tagging sometimes is “a bit” off, streaming via the webbrowser does work. I didn’t manage to get streaming to my phone to work, and due to lack of hardware I also cannot test streaming via ChromeCast et.al. – which in theory should work too. So if someone whishes to sponsor me with a 65”, 4k Samsung UHDTV, call me. Or if one of my dear readers has the infrastructure and would like to play around with the thing.
Another thing the station supports is offline transcoding, wherein the station re-encodes existing video files in a better format for streaming – it’s also on the list of things that need to be tested in detail.
As is the Media Server, which does exactly what it says on the tin: it provides a media server to be accessed with proper hardware (e.g. consoles) to stream content from the station.
And last but not least the thing can host wordpress-blogs (however, I’ll leave this on it’s webspace), and it provides a docker-server. Docker is an open-source project that automates the deployment of applications inside software containers. I’ve never worked with it, but I’ve heard that it is possible to set up a teamspeak-server on the station using docker. Another thing to try.
And yeah… that’s it so far.
The thing works.
First impression: good.
I’ll keep you posted.